Satisfy Your Sweet Tooth with Easy Dessert Recipes
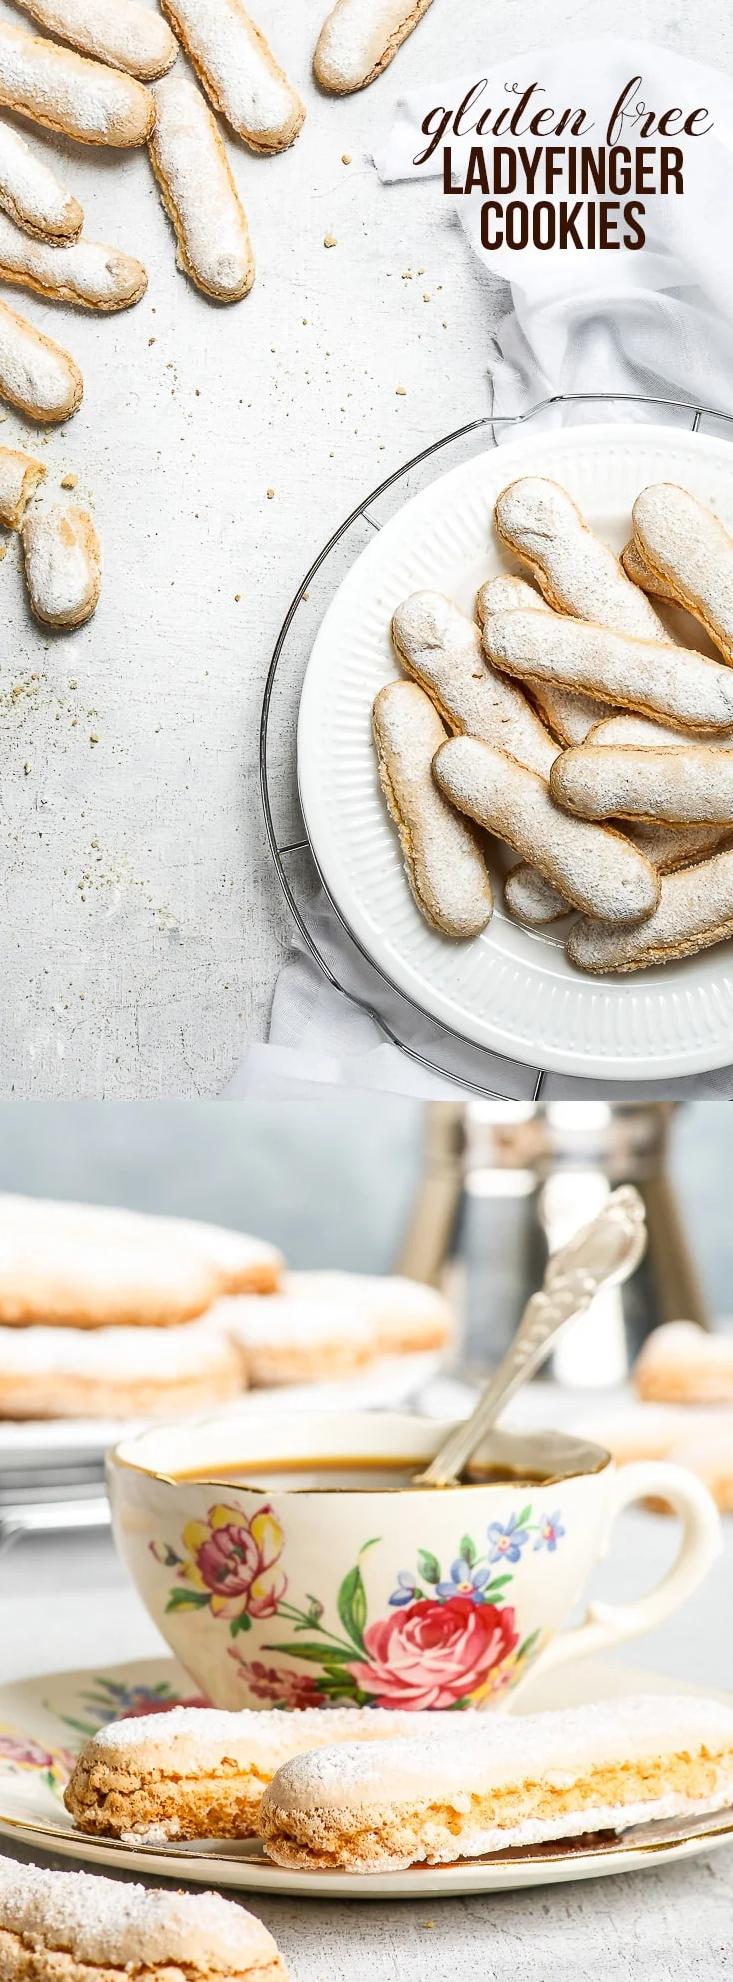
Are you a coffee lover who is also following a gluten-free diet? Do you often miss out on delicious desserts because you can’t find the right gluten-free recipe? Well, have no fear because I have the perfect treat for you – Gluten-Free Coffee Fingers!
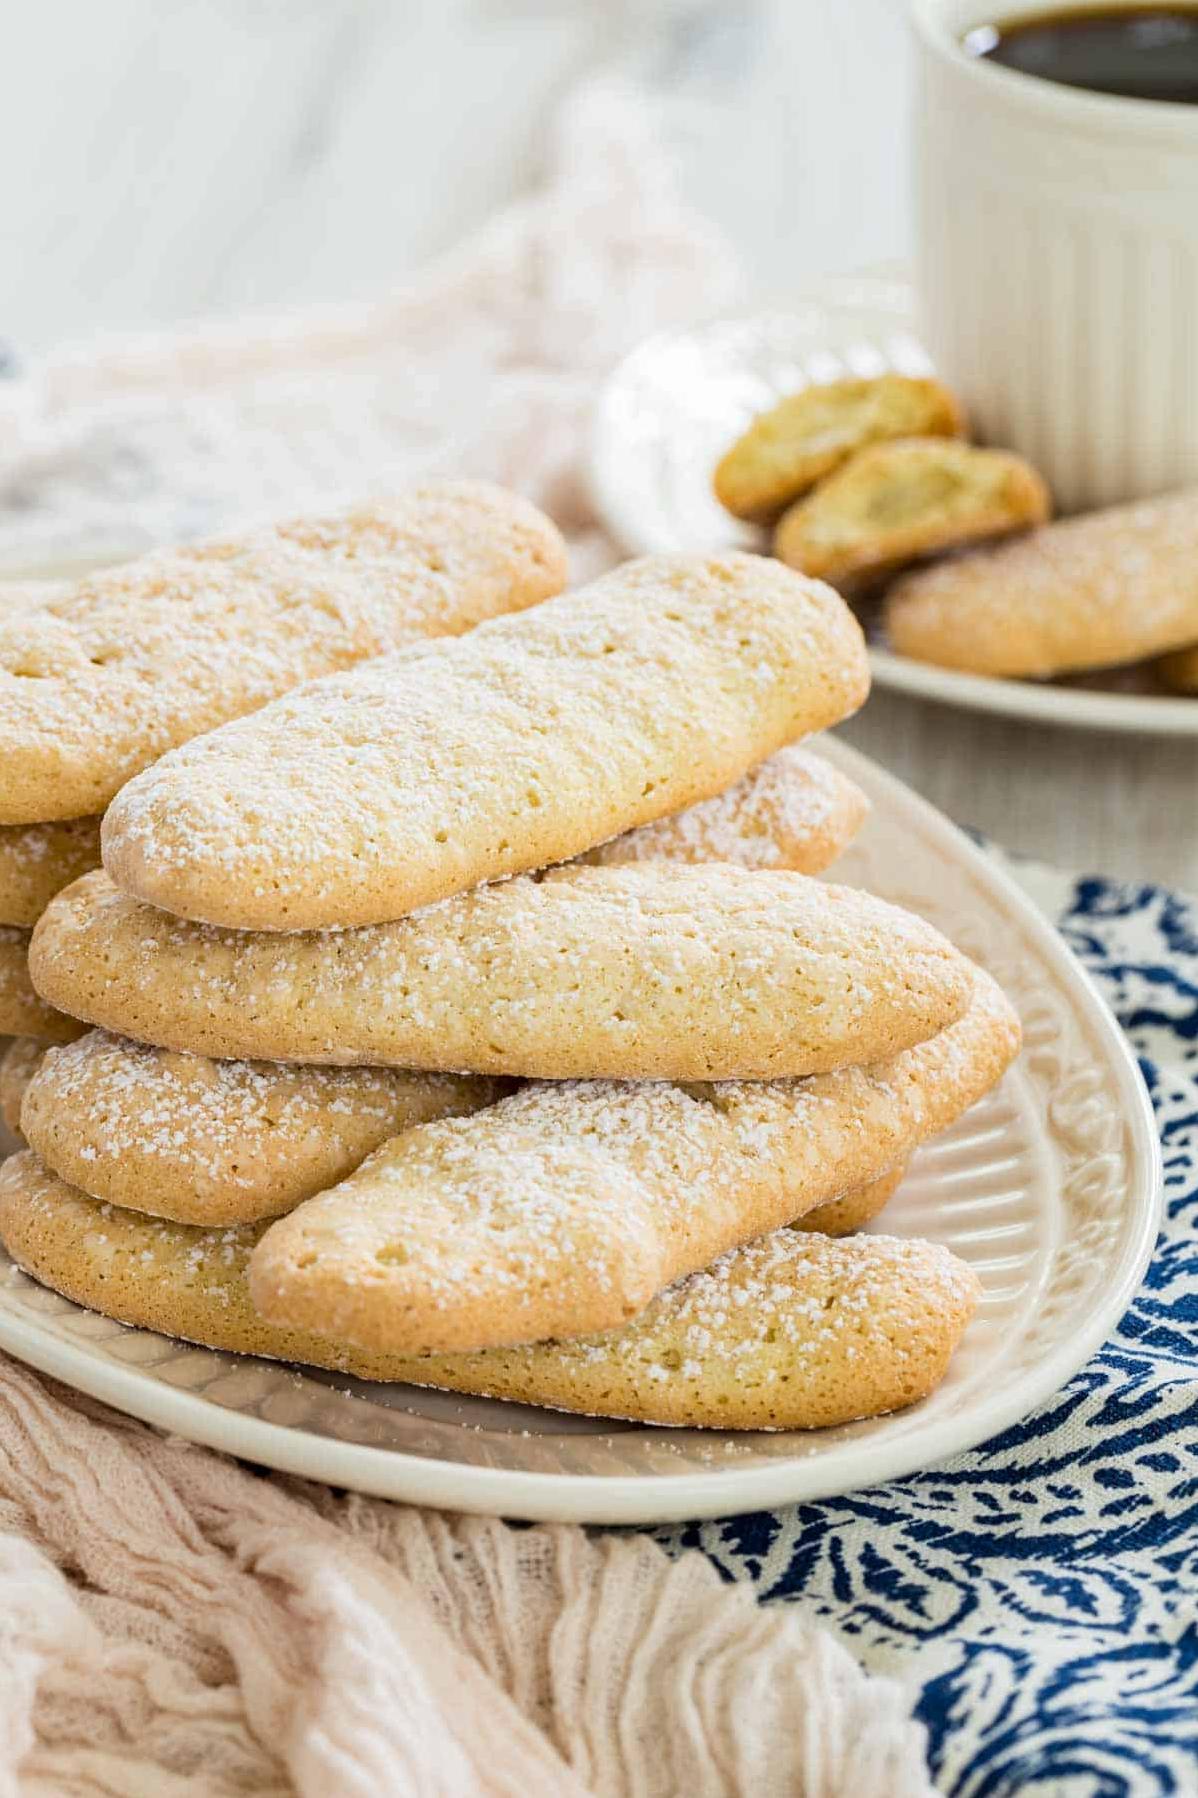
This recipe is not your ordinary ladyfingers recipe as it combines the rich flavor of coffee with the health benefits of gluten-free flour. Not only are these coffee fingers easy to make, but they are also incredibly versatile and can be used for a variety of desserts such as tiramisu or as dunking cookies in your coffee.
Now, you don’t have to sacrifice taste for your dietary restrictions. With this recipe, you can indulge in a delicious dessert without any worries about gluten. So what are you waiting for? Let’s dive into this amazing Gluten-Free Coffee Fingers recipe!
Why You’ll Love This Recipe
Are you craving for a moist and delightful coffee cake recipe that’s gluten-free? Search no more. This Gluten-Free Coffee Fingers Recipe is the right one for you! You’ll love this recipe because it is easy to make and uses the best gluten-free ingredients.
The combination of buckwheat flour, potato starch, and sweet rice flour adds richness to these finger cookies. It makes them gluten-free, healthy, and perfect for those who have dietary restrictions. Plus, the instant coffee granules give these cookies an irresistible coffee flavor that will make you want more.
Whether you’re making tiramisu or any other dessert with ladyfingers, this recipe is perfect for you. These gluten-free ladyfingers are soft yet sturdy enough to form layers in your tiramisu without getting too soggy.
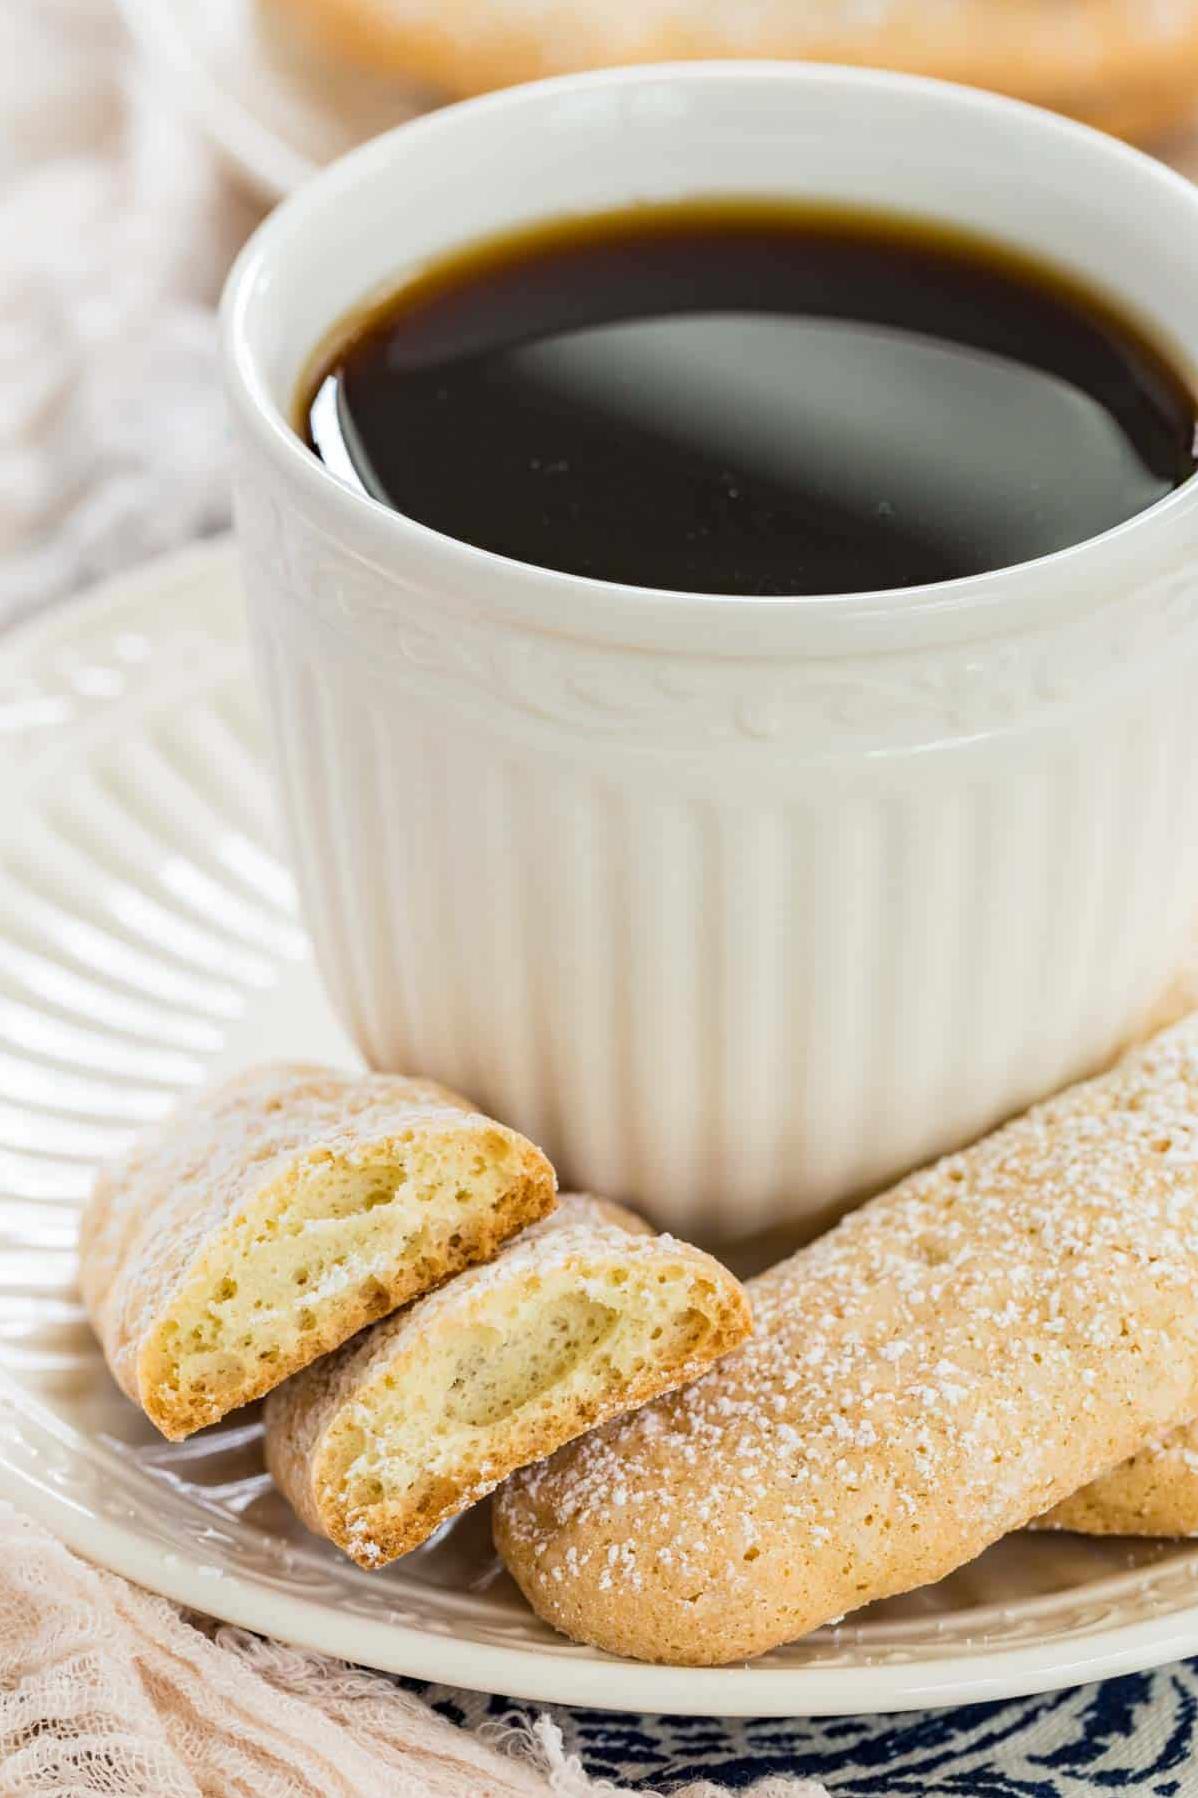
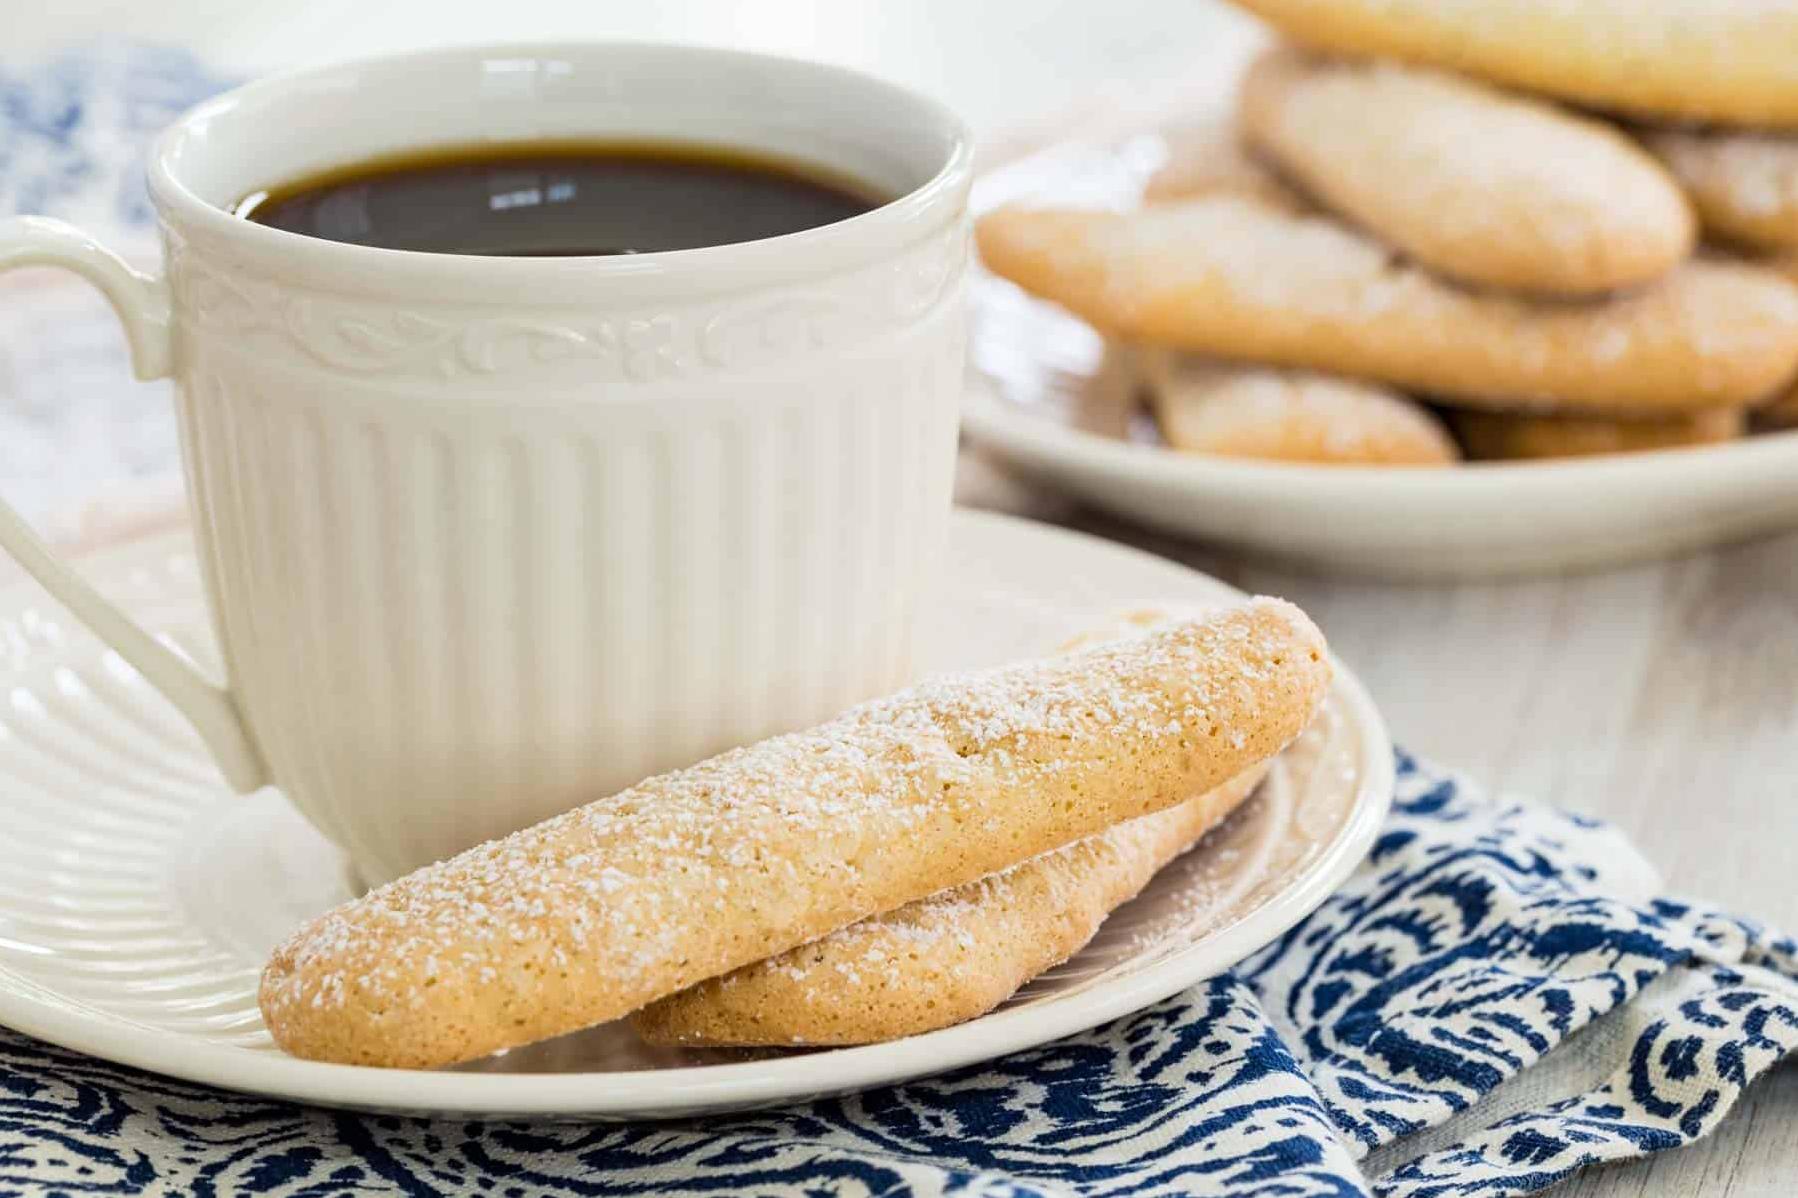
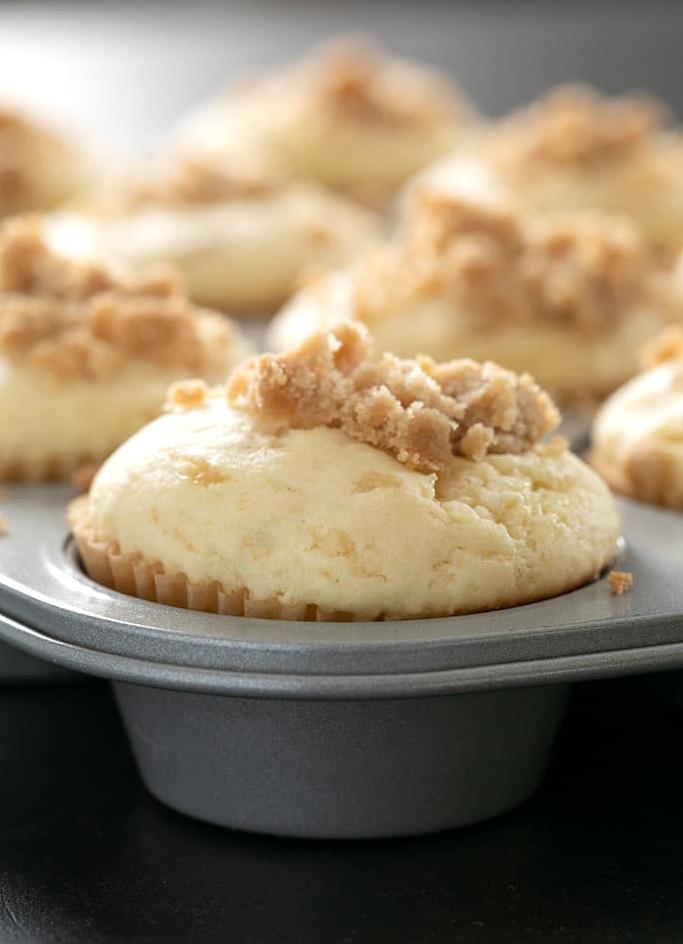
You’ll also love this recipe if you enjoy dunking coffee cakes or muffins into your coffee. These coffee fingers have just the right amount of sweetness to balance out the bitterness of your coffee.
In short, this easy gluten-free coffee finger recipe is versatile and suitable for various desserts such as tiramisu, coffee toffee cookies, Viennese biscuits, biscotti recipes, shortbread, and many more. So what are you waiting for? Make this recipe today and taste the best gluten-free coffee fingers ever!
Ingredient List
-
Butter, softened: 1 cup
-
Brown sugar: 2 cups
-
Icing sugar: 1 cup
-
Instant coffee granules: 1 tbsp
-
Sweet rice flour: 1 cup
-
Buckwheat flour: ½ cup
-
Potato starch: ½ cup
-
Rice flour: ½ cup
-
Egg yolk: 1
-
Mascarpone cheese (at room temperature): 3 cups
The Recipe How-To
Now that we have gone through the ingredient list, let’s start making our Gluten-Free Coffee Fingers. This recipe is quite easy to follow and perfect for those who are looking for a healthy coffee cake. So, put on your apron and let’s get started.
Step 1: Making the Batter
The first step is to make the batter. In a mixing bowl, beat together 1/2 cup softened butter, 1/2 cup brown sugar, 1/4 cup icing sugar until creamy. Add in 1 egg and 1 egg yolk one at a time and beat again.
Step 2: Preparing the Dry Ingredients
In another mixing bowl, whisk together 3/4 cups buckwheat flour, 1/4 cup sweet rice flour, 1/4 cup potato starch and 1 teaspoon instant coffee granules.
Step 3: Combining the Mixtures
Then slowly add the dry mixture into the batter, mixing until combined. Cover the mixture with plastic wrap, and chill in the fridge for about 30 minutes.
Step 4: Shaping The Dough
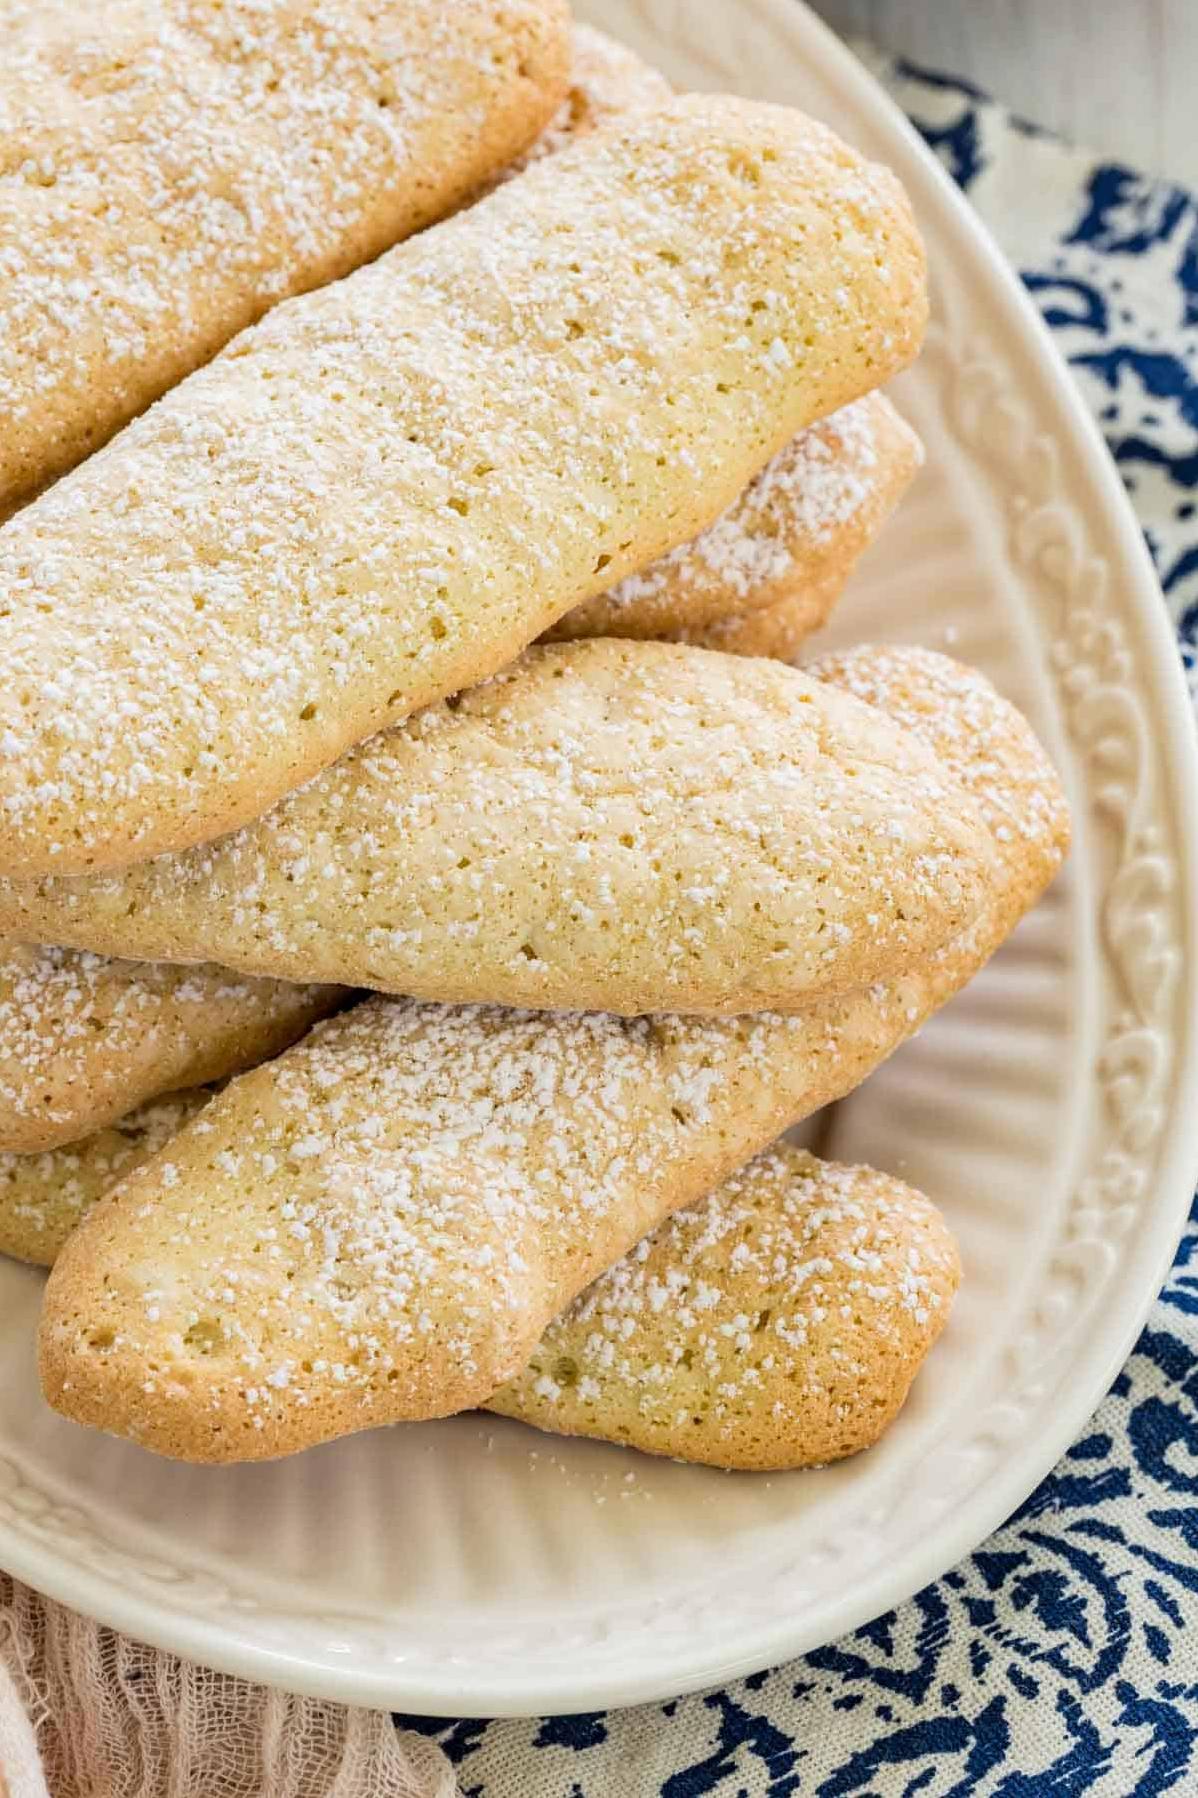
Preheat your oven to 325°F (160°C) and line a baking sheet with parchment paper. Remove the dough from the fridge and shape it into small finger-sized cookies, approximately 2 inches long each. Place them on your prepared baking sheet leaving some space between them.
Step 5: Baking The Cookies
Bake for around 15-20 minutes or until golden brown on edges. Then remove from the oven and cool them completely before moving forward.
Step 6: Using The Coffee Fingers
Now you can use these gluten-free coffee fingers as desired. These are perfect as ladyfingers in a tiramisu recipe, dunking cookies in your morning coffee or to serve with a coffee cake. Feel free to experiment with different variations!
That’s it, you just made yourself some gluten-free coffee fingers! Now all you have to do is enjoy them with a delicious cup of coffee.
Substitutions and Variations
When it comes to baking, substitutions and variations are often necessary due to dietary restrictions or personal preferences. Luckily, this gluten-free coffee fingers recipe is quite versatile and can easily be adapted to suit your needs.
One substitution you can make is using different types of gluten-free flour. While the recipe calls for a combination of buckwheat flour, potato starch, and sweet rice flour, you could substitute some of these ingredients with other gluten-free flours like almond flour, cornstarch, or tapioca flour. Keep in mind that different flours have varying textures and properties, so the end result may differ slightly.
If you’re looking to add some extra flavor to these coffee fingers, try incorporating different types of instant coffee granules such as mocha or hazelnut. You could also add in some chopped nuts or chocolate chips for some added texture.
For a dairy-free option, swap out the butter for a non-dairy alternative like coconut oil or vegan margarine. Additionally, if you’re looking for a vegan version of this recipe, you can use a flax egg replacement instead of traditional eggs.
To make this recipe more indulgent and dessert-like, you can serve the coffee fingers with a side of whipped cream or mascarpone cheese mixed with a dash of vanilla extract. Or use the coffee fingers as the base for a gluten-free tiramisu by layering them with mascarpone cream and dunking them into freshly brewed coffee.
Overall, don’t be afraid to get creative with this recipe and experiment with different substitutions and variations until you find your perfect gluten-free coffee finger combination!
Serving and Pairing
These gluten-free coffee fingers are a perfect dessert for coffee lovers. You can serve them alongside your favorite coffee, or even better, make a delicious gluten-free tiramisu with them! Simply dip the fingers into some strong coffee and layer them with mascarpone and cocoa powder for an indulgent dessert.
These coffee fingers are also great on their own as a sweet treat. Serve them with a scoop of your favorite ice cream or whipped cream for an extra special touch. I find that these finger cookies pair well with a hot cup of black coffee, but they can also be enjoyed with tea or even hot chocolate.
If you’re feeling creative, you can use these fingers in other desserts as well. They can be crushed up and used as a crust for a gluten-free cheesecake or pudding. You can also use them to make cake muffins or biscotti by simply cutting them into small pieces and baking them into your favorite recipes.
These gluten-free coffee fingers are versatile and delicious, making them the perfect addition to any dessert spread. So whether you’re serving them on their own or using them in a larger recipe, your guests will be impressed by their rich flavor and crispy texture.
Make-Ahead, Storing and Reheating
Ah, the trick to enjoying gluten-free coffee fingers anytime and anywhere is to know how to keep them fresh. Fear not, for I have some tips on how to make these treats ahead of time, store them properly, and reheat them when needed.
Make-Ahead:
Preparing the coffee fingers takes time and effort. To save yourself from last-minute stress, you can make the treats in advance. Once the cookies are baked and cool to room temperature, place them in an airtight container or ziplock bag. You can store them at room temperature for up to two days or freeze them for future use.
Storing:
The best way to keep your coffee fingers soft and tender is by placing a clean, dry paper towel inside the storage container. Stack the cookies in a single layer with a piece of parchment paper, wax paper, or foil in between each layer. The paper will absorb any excess moisture, and the layers will prevent sticking.
Reheating:
To reheat your gluten-free coffee fingers, preheat your oven to 350°F (~175°C). Place the cookies on a baking sheet covered with a parchment paper or foil. Bake for about 7-10 minutes or until they are warm and crisp again.
Another way to reheat your coffee fingers is by popping them in a microwave oven for 10-12 seconds at medium-high heat. Be careful not to overdo it as they may become chewy or hard.
Don’t forget that the cookies can be eaten cold too! Dunked into hot coffee or warm milk, they make an excellent breakfast or afternoon snack.
So there you have it! Now that you know how to make these gluten-free coffee fingers ahead of time, store them properly, and reheat them when needed, you’ll never have to worry about running out of finger cookies again!
Tips for Perfect Results
When it comes to baking gluten-free coffee fingers, there are a few things that can make all the difference in achieving that perfect texture and taste. Here are my top tips for ensuring your coffee fingers come out just right every time.
Firstly, be careful not to overmix your dough. Overmixing can lead to a tough and dense final product. Mix the ingredients until they are just combined, and then stop.
Secondly, make sure to measure your ingredients precisely. Gluten-free baking is more finicky than traditional baking, so accuracy is key to achieving the correct texture and consistency in your coffee fingers.
Next, let your dough rest for 10-15 minutes once it’s been mixed. This allows the flours to absorb moisture correctly and helps prevent a dry crumbly texture.
When baking your coffee fingers, keep an eye on them as they cook. You want them to be lightly golden brown on the outside but still soft and tender on the inside. Take them out of the oven as soon as they’re finished cooking and let them cool completely before storing.
Lastly, don’t be afraid to experiment with different flavors and variations. Try adding in some cocoa powder or nutmeg for a twist on classic coffee flavor, or drizzle them with dark chocolate for an extra touch of decadence.
By following these tips, you’ll be able to create delicious and satisfying gluten-free coffee fingers every time. Happy baking!
Bottom Line
In conclusion, this recipe for gluten-free coffee fingers is a surefire way to indulge in a sweet treat without worrying about any gluten-related issues. It provides an excellent base for many desserts such as coffee cake, tiramisu, and finger cookies.
The combination of buckwheat flour, potato starch, and instant coffee granules makes the batter flavorful while still being healthy. Furthermore, the icing sugar and brown sugar add sweetness that will surely satisfy your taste buds.
As you can see, this gluten-free recipe delivers great flavor without sacrificing its health benefits. Give it a try and enjoy the deliciousness of coffee fingers like never before!
Gluten-Free Coffee Fingers Recipe
Ingredients
- 1 cup butter, softened
- 1/2 cup brown sugar
- 3 tablespoons icing sugar
- 1 teaspoon instant coffee granules
- 1 egg yolk
- 1 cup sweet rice flour
- 1/2 cup potato starch
- 1/2 cup light stoneground buckwheat flour
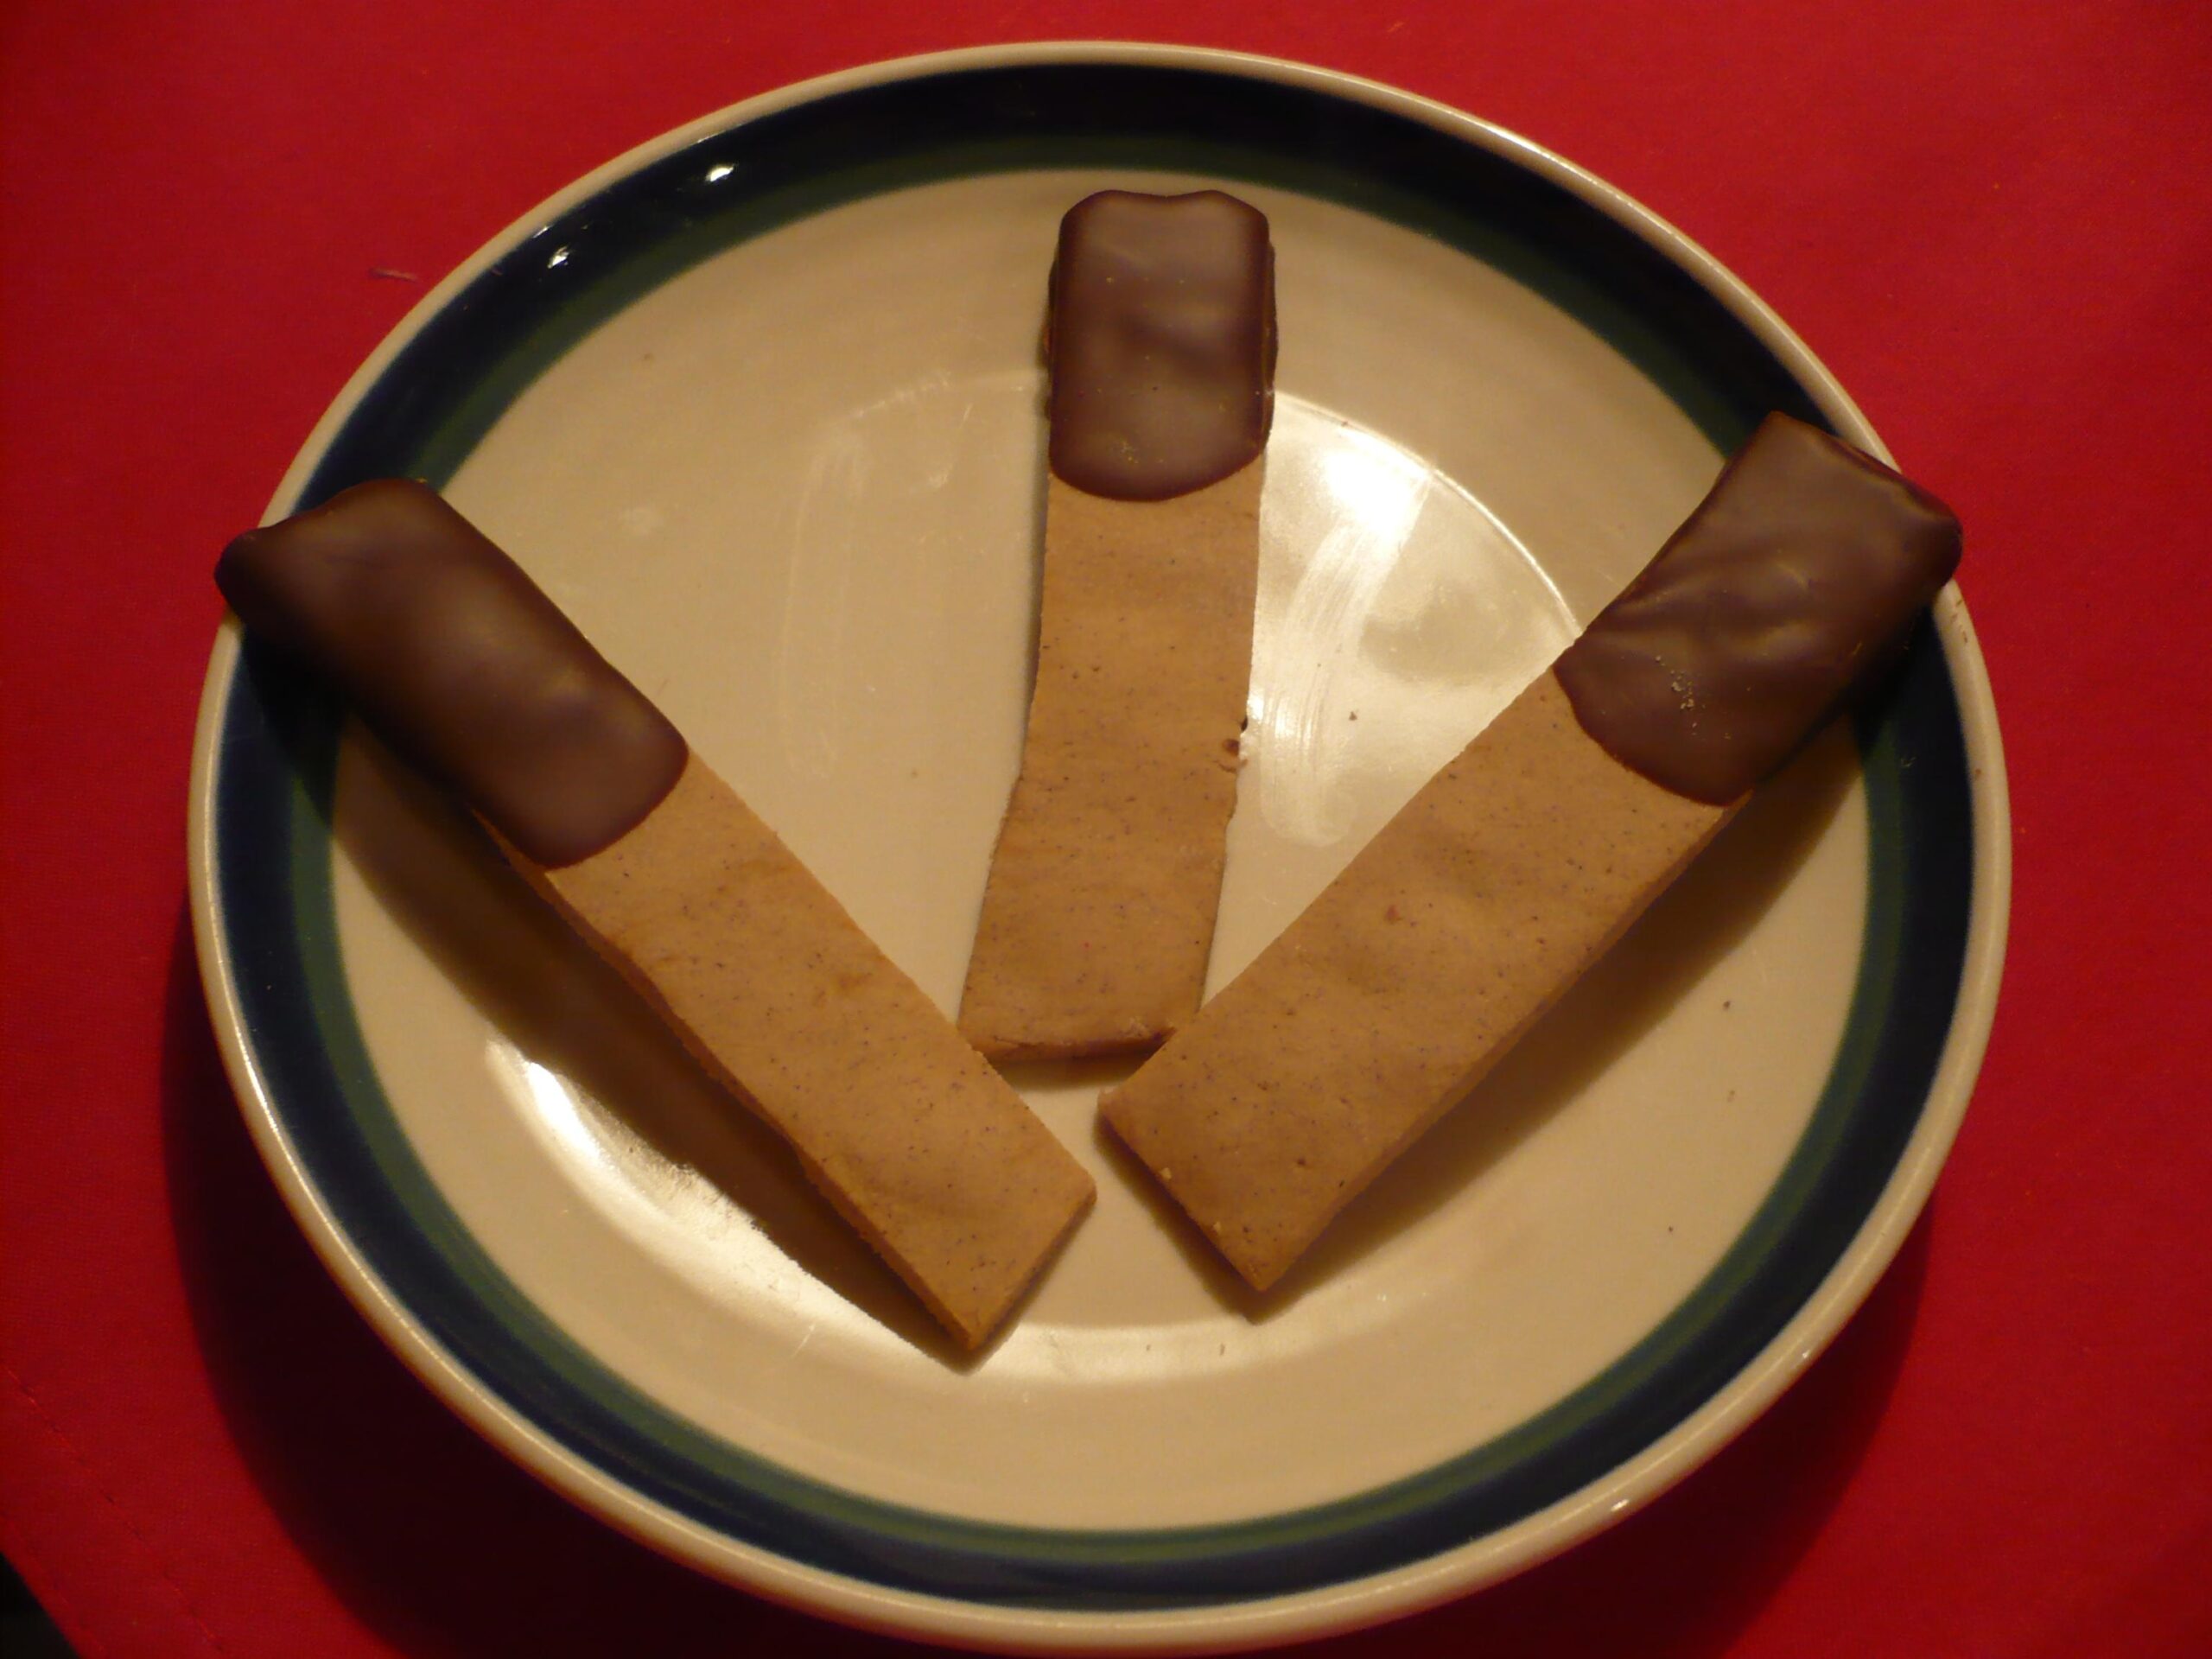
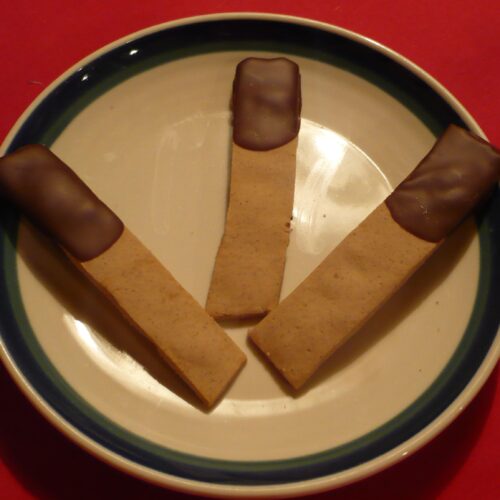
- 2 (1 ounce) semi-sweet chocolate baking squares, melted
Instructions
- Measure first 5 ingredients into a mixing bowl and stir.
- Add flour and mix well.
- Roll 1/2" thick on a lightly floured surface and cut into finngers 1/2"x2".
- Place on a greased cookie sheet and bake in a preheated 300* oven for 20 to 25 minutes.
- When cooled, dip ends into melted chocolate.
- Enjoy!