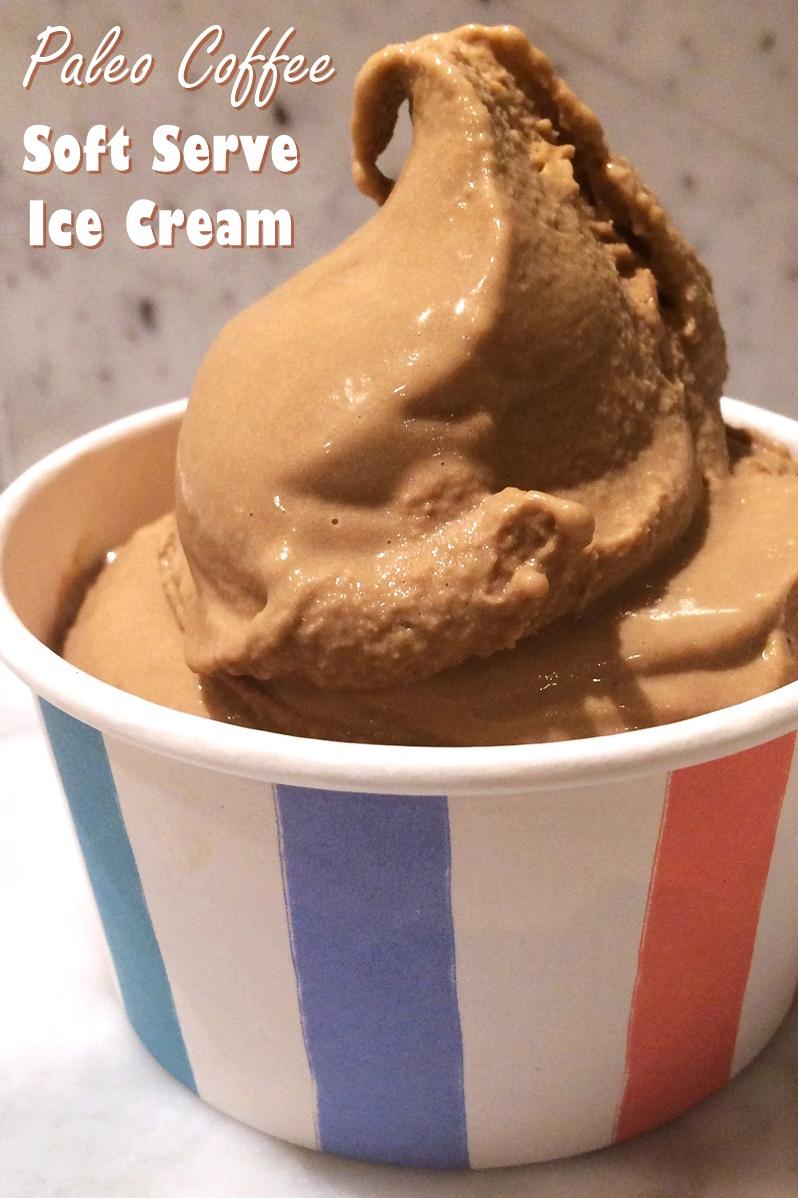
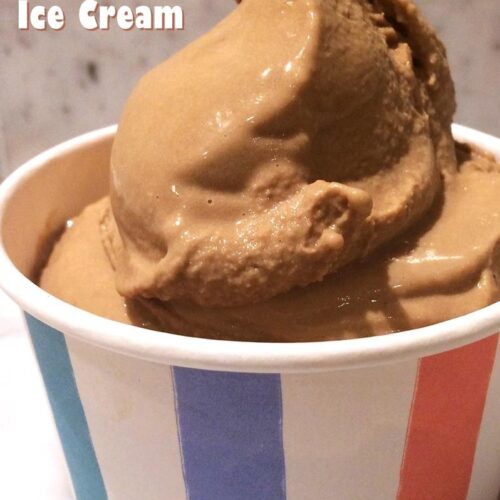
Delicious Coffee Ice Cream Recipe You’ll Love!
Welcome, fellow coffee lovers! As a barista, I know just how much we all appreciate a good cup of java in the morning to help jumpstart our day. But have you ever thought about incorporating coffee into a sweet treat? Look no further than this Coffee Ice Cream (Soft Serve) Recipe!
This recipe is perfect for those who crave something creamy and indulgent but also want that caffeine boost. It’s easy to make and requires only a few ingredients. Plus, who doesn’t love ice cream, especially during the summer?
So why not switch things up and impress your friends and family with homemade coffee ice cream straight from your own kitchen? Trust me, their taste buds will thank you. Let’s get started!
Why You’ll Love This Recipe
Are you ready to enjoy a heavenly coffee experience in the form of a delicious and creamy treat? Then get your spoons ready, because this Coffee Ice Cream recipe is going to thrill your taste buds!
First of all, let’s talk about the main ingredient – coffee. If you’re a coffee fanatic like me, then you know there’s nothing better than the aroma of freshly brewed coffee in the morning. This recipe packs a punch with instant coffee granules, whole coffee beans, and even a touch of cinnamon for an added warmth. It’s like having your morning cuppa blended into frozen perfection.
But why should you choose this recipe over any other ice cream flavor? Well, for one thing, it’s simple to make. With just a few basic ingredients like sugar, gelatin, heavy whipping cream, and nonfat milk, you can whip up a batch of this rich and decadent ice cream in no time. Plus, it doesn’t require an ice cream maker, making it accessible to all!
Not only is it easy to make, but it’s also highly customizable. Add in some cocoa powder for a mocha twist or blend in ripe bananas for extra creaminess. The possibilities are truly endless with this versatile recipe.
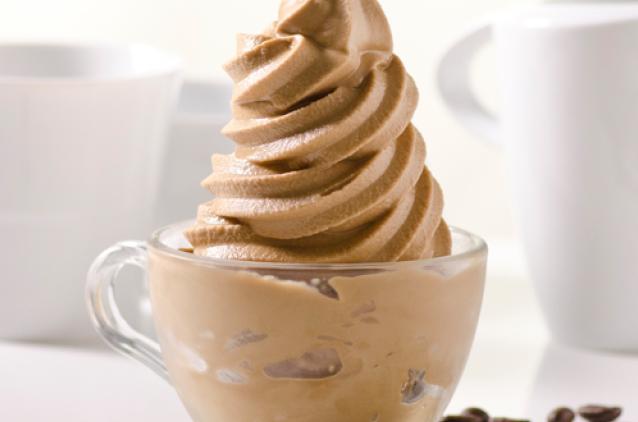
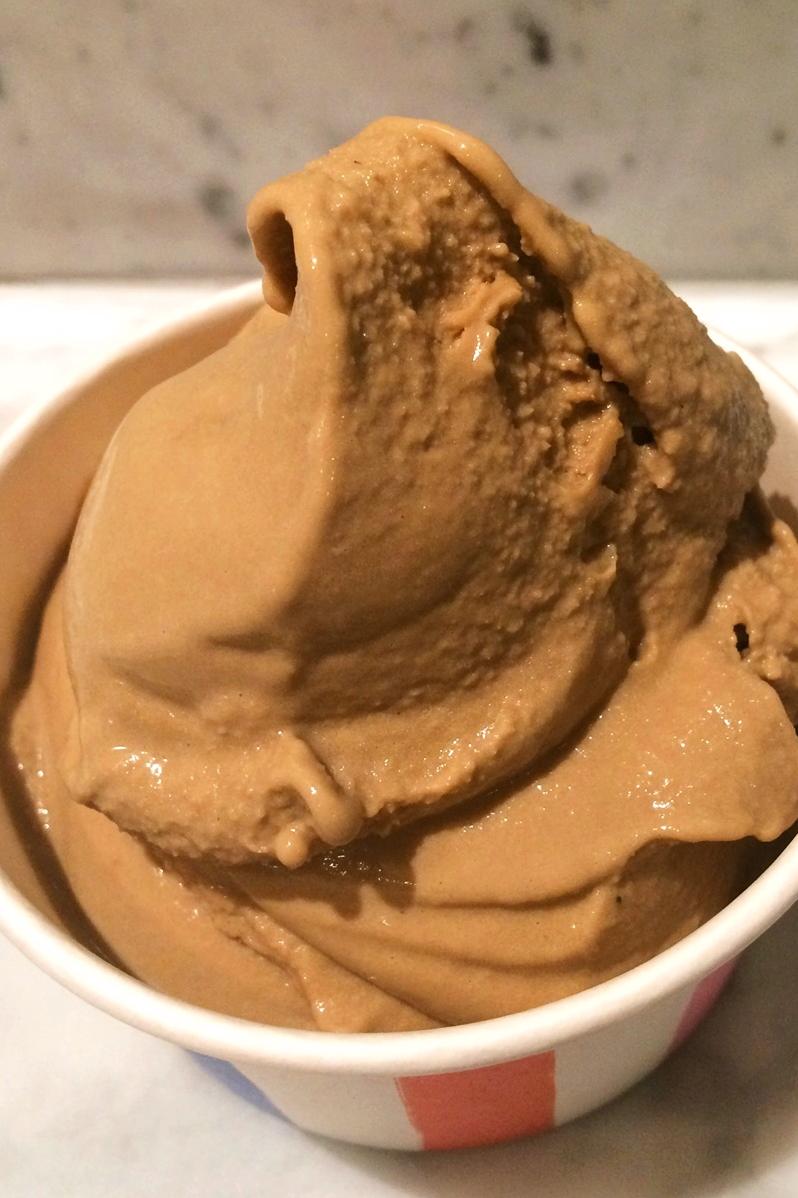
And let’s not forget about the texture – this Coffee Ice Cream is soft serve at its finest. Without sacrificing on richness or flavor, this recipe produces a velvety smooth texture that will melt in your mouth.
In conclusion, if you love coffee and crave a decadent dessert that’s easy to make and highly customizable, then this Coffee Ice Cream recipe is the perfect treat for you. So go ahead and treat yo’ self – because you deserve it!
Ingredient List
Here are the ingredients you need to make this delicious Coffee Ice Cream (Soft Serve) recipe:
Main Ingredients:
- 1 cup of whole coffee beans
- 2 cups of heavy cream
- 2 cups of whole milk
- 1 1/2 cups of white sugar
- 6 egg yolks
- 3 tablespoons of instant coffee granules
- 1/4 cup of unflavored gelatin
Additional Ingredients:
- 2 teaspoons of vanilla extract
- 1/4 cup of cocoa powder
- 1/2 teaspoon of cinnamon
- 1 ripe banana, mashed
Note that you can adjust the amount of sugar and instant coffee granules based on your preference. Moreover, feel free to add other ingredients that you like such as dark chocolate chips or nuts.
The Recipe How-To
Step 1: Make the Coffee Soft Serve Ice Cream
To make the coffee soft serve ice cream, start by combining 1 cup of whole milk and 2 cups of heavy cream in a medium saucepan over medium heat. Add ¾ cup of granulated sugar and 3 tablespoons of instant coffee granules to the milk and cream mixture, stirring until all ingredients have dissolved.
Step 2: Whisk the Yolks and Gelatin
In a separate bowl, whisk together 4 egg yolks until they become pale yellow. Then, add ½ cup of white sugar to the yolks and continue to whisk until well combined. In another bowl, sprinkle 2 teaspoons of unflavored gelatin over 2 tablespoons cold water, let it sit for a few minutes, then microwave it for 20 seconds or until it has dissolved.
Step 3: Combine the Mixtures
Slowly pour the hot milk mixture into the egg yolk mixture while continuously whisking. Pour this new mixture back into your pan and stir in your dissolved gelatin until fully combined. Cook over medium heat for approximately five minutes or until the mixture becomes thick enough to coat a spoon.
Step 4: Cool and Churn
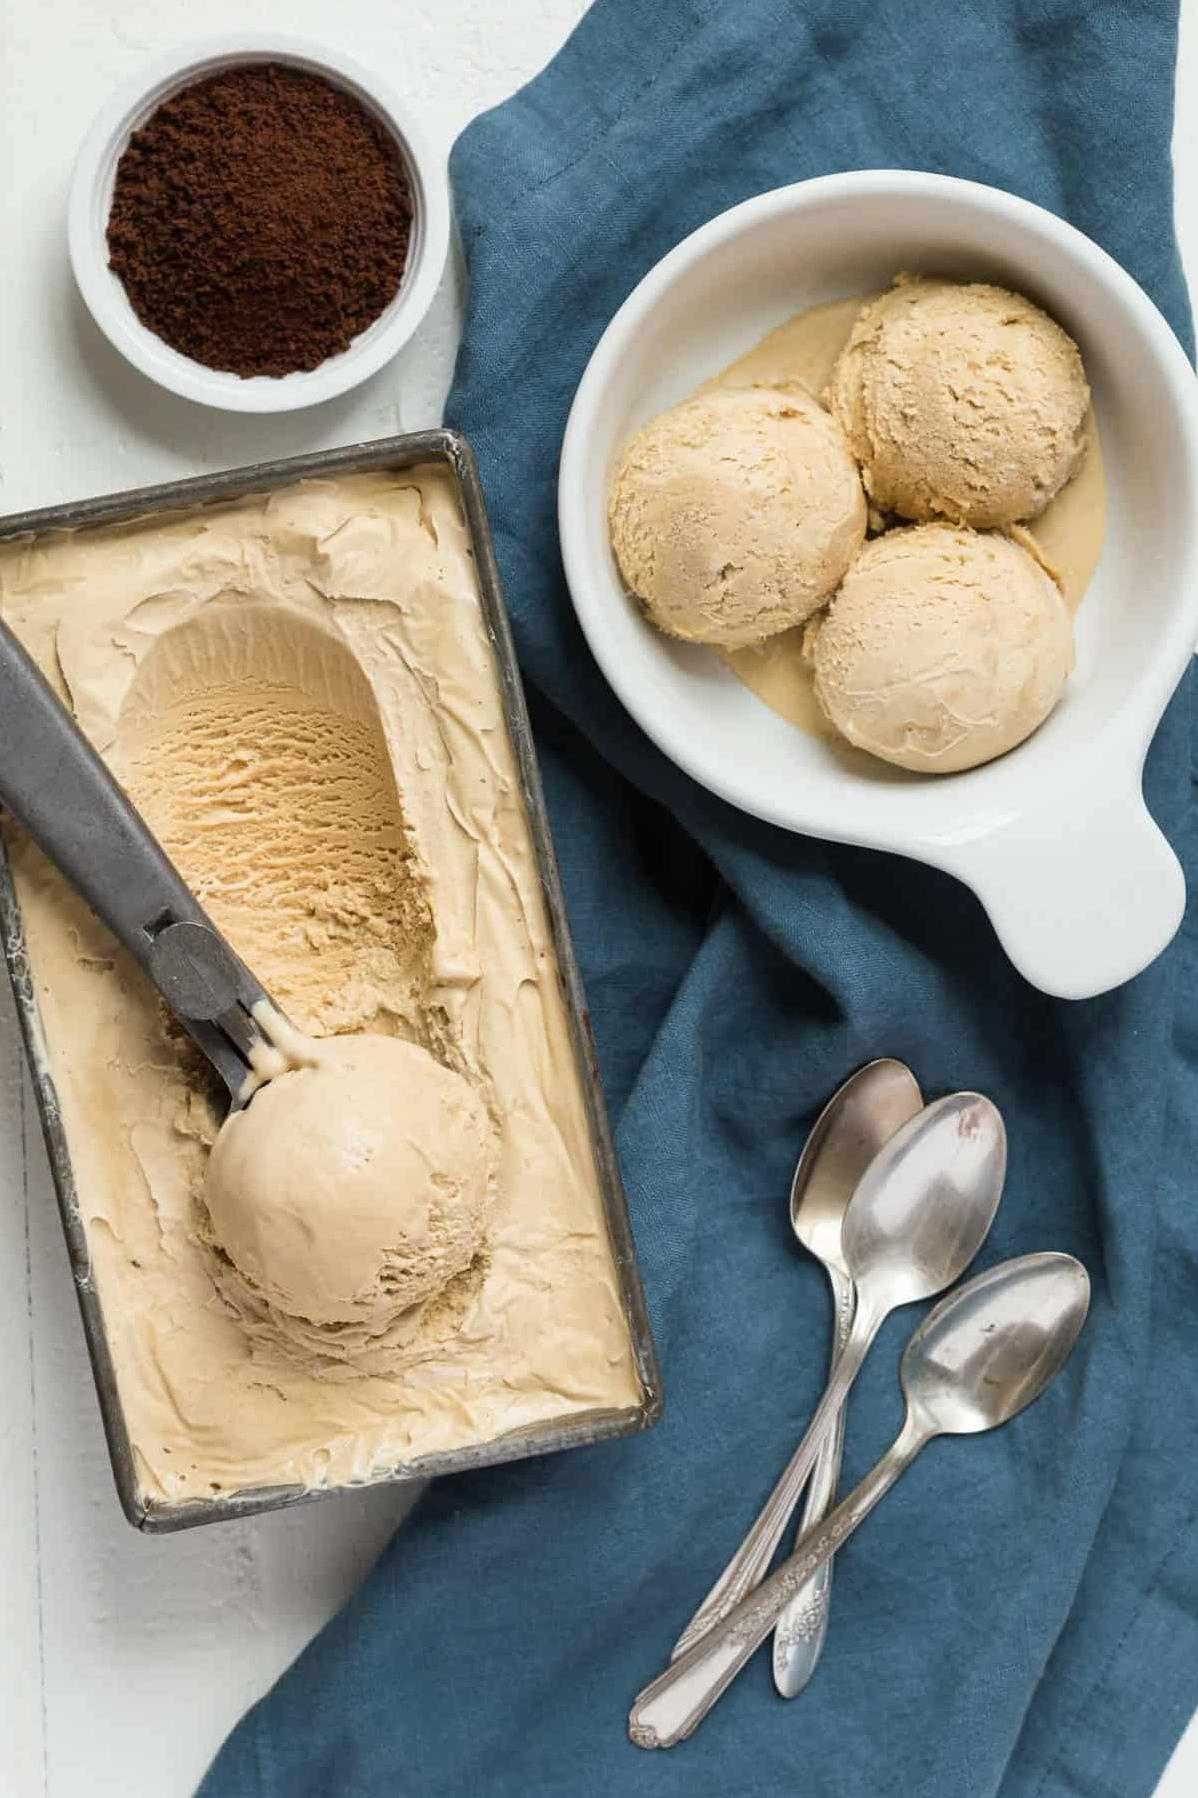
Strain the ice cream mixture over a strainer placed in a bowl, then let it cool completely before churning it with an ice cream machine according to the manufacturer’s instructions. The coffee soft serve ice cream should be ready after about twenty minutes of churning.
Congratulations! You have made a batch of delicious homemade coffee ice cream that will liven up any dessert table.
Substitutions and Variations
Now, let’s explore some substitutions and variations you can try to adapt this coffee ice cream recipe or make it even more exciting.
1. Use different coffee flavors: Instead of using instant coffee granules, you could use Vietnamese coffee for a stronger and richer flavor or cold brew coffee for a smoother taste. You could also experiment with different types of coffee beans such as Arabica for a more complex flavor profile.
2. Add mix-ins: You can customize your coffee ice cream by adding mix-ins to create unique versions. Some delicious options include dark chocolate chips, caramel swirls, cinnamon, or even banana chunks. Get creative and add your own favorite flavors!
3. Use vegan substitutes: For those who prefer dairy-free options, you can substitute heavy whipping cream with coconut cream instead, and non-fat milk with almond milk or soy milk. These alternatives still make creamy and delicious ice cream.
4. Use a different sweetener: If white sugar is not your preference, you can use honey or maple syrup instead for a rich and natural sweetness. You could also try using brown sugar instead of granulated sugar for a more intense flavor.
5. Make it no churn: If you don’t have an ice cream maker on hand, you can still enjoy homemade coffee ice cream by making it no churn. Simply whip together heavy cream and sweetened condensed milk in a bowl until stiff peaks form, then fold in the instant coffee granules and vanilla extract before freezing until firm.
By experimenting with these substitutions and variations, you’ll be able to create new twists for your homemade coffee soft serve ice cream that perfectly suit your taste buds!
Serving and Pairing

Now that you’ve whipped up a batch of delicious homemade coffee ice cream, it’s time to think about how to serve and pair this delightful dessert. The creamy texture and rich flavor of this coffee soft serve ice cream make it a perfect treat on its own, but it also pairs well with other desserts or beverages.
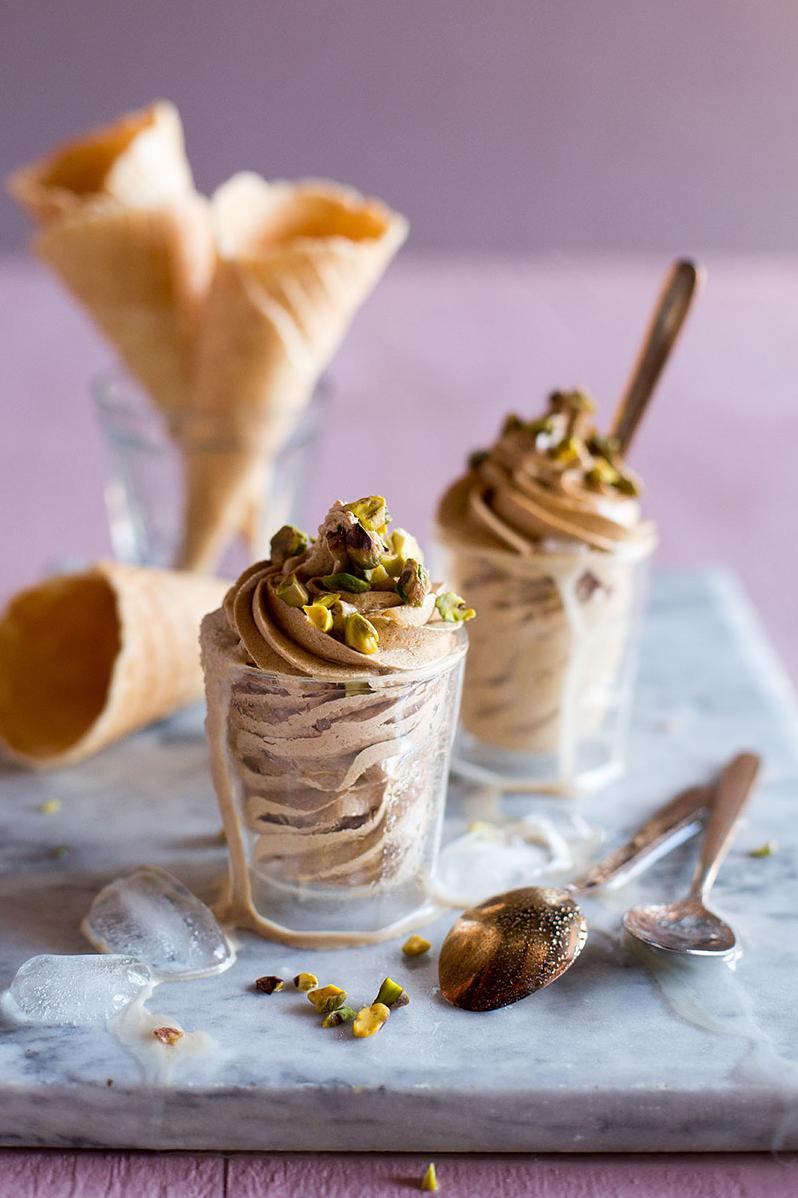
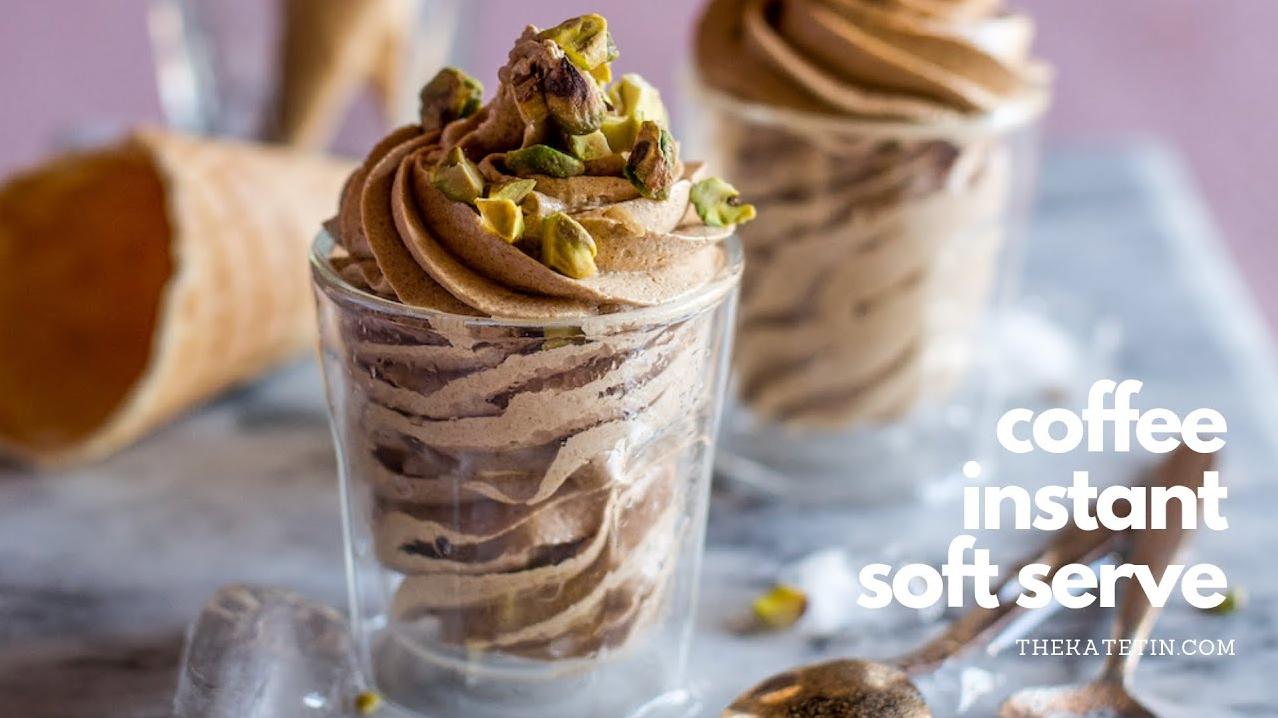
For those who like a bit of crunch in their ice cream, serve the coffee ice cream with some pieces of cinnamon sugar or cocoa powder dusted biscotti. If you’re looking for something even more decadent, try pairing the coffee soft serve with dark chocolate ice cream or drizzling some caramel sauce over the top.
If you’re serving it as a dessert at a dinner party or gathering, consider making affogato, a classic Italian dessert consisting of a scoop of ice cream topped with a shot of espresso. This is an excellent way to take your coffee soft serve to the next level and is sure to impress your guests.
Coffee ice cream can also be used as an ingredient in other desserts such as milkshakes, frappuccinos, or even blended into smoothies. When it comes to pairing beverages, coffee ice cream goes perfectly with a cup of hot arabica coffee or cold brew. For non-coffee drinkers and vegans, this recipe can be adapted to using decaf instant coffee granules instead.
No matter how you choose to serve it, homemade coffee ice cream is always a crowd-pleaser that will leave everyone craving for more.
Make-Ahead, Storing and Reheating
Making homemade coffee ice cream is great, but it can be a bit time-consuming. So, if you’re looking to whip up a batch of this delicious ice cream in advance, here’s how:
Make-Ahead: Store the coffee ice cream mixture in an airtight container in the refrigerator for up to 24 hours before churning. This will give the coffee granules and unflavored gelatin enough time to dissolve properly.
Storing: Once churned, store the coffee ice cream in an airtight container in the freezer for up to two weeks. If you’re using nonfat milk instead of whole milk, you should only keep it for a week.
Reheating: When it comes to reheating homemade ice cream, there are certain things that you should keep in mind. Firstly, avoid using a microwave as this can cause the texture of the ice cream to be compromised. Instead, let the ice cream sit at room temperature for 5-10 minutes before serving. Alternatively, you can place it in the fridge for about half an hour before serving.
Make sure to scoop your ice cream into an airtight container so that it doesn’t pick up any flavors or smells from other items in your freezer. When ready to serve, let it sit out of the freezer for just a few minutes so that it becomes soft and scoopable again.
With these tips and tricks, you’re now equipped to make, store and reheat homemade coffee soft serve ice cream like never before!
Tips for Perfect Results
If you carefully follow the recipe for coffee ice cream (soft serve) as given in the previous sections, success is not far away. However, if you want to ensure a perfect outcome, here are some tips that may help:
1. Get the right temperature
Making ice cream is all about temperature. Ensure that the mixture for your ice cream is cold enough before introducing it to your ice cream maker. If you have time, refrigerate it overnight.
2. Don’t overmix
Don’t overmix your soft-serve ice cream to avoid ending up with the traditional brick of frozen ice cream. As a rule of thumb, churn the ice cream until it reaches the consistency of whipped cream.
3. Be patient when churning
Churning can take longer than anticipated; whereas 20 minutes may be enough in normal conditions, other factors like weather or quality of machine can lead to churn times ranging from 25-35 minutes.
4. Experiment with variations
While sticking to the recipe will result in great coffee ice cream, consider changing things up occasionally by experimenting with variations such as adding cinnamon, cocoa powder or banana.
5. Use high-quality ingredients
The better the quality of ingredients you use, the better the final product will be. Try using freshly-ground coffee beans and organic dairy for an exceptional home-made coffee ice cream.
6. Don’t rush serving and pairing
To fully enjoy this delicious homemade coffee treat, take your time when serving and pairing it. Explore different pairing options such as caramel macchiato or dark chocolate ice cream cones.
7. Keep your equipment clean
Ensure that you keep your machines and tools clean post-use by following their respective guidance manuals strictly – this will also aid in prompt future use.
8. Personalize the recipe
Add a twist to your soft serve by tweaking proportions of ingredients such as honey or salt – keeping experimentation smart and deliberate.
Follow these tips to ensure that your homemade coffee ice cream (soft serve) is not just good but perfect. Happy churning!
Bottom Line
In conclusion, making coffee ice cream at home has never been easier with this recipe. It is worth the effort because you can tweak the recipe to suit your personal taste preferences. With a combination of instant coffee granules and heavy whipping cream, this coffee ice cream promises up to 4 cups of soft-serve that is perfect either as a standalone dessert or with other sweet treats.
Whether you prefer it as soft serve or regular ice cream, homemade coffee ice cream brings a sense of comfort and nostalgia. Once you try this recipe, I guarantee that you will want to make it again and again. The best part about it is that it doesn’t require much time, equipment or expertise. Plus, there are endless possibilities for substitutions and variations to suit any dietary restrictions or preferences.
So why don’t you give this recipe a try? Go on, indulge in the sweet aroma and irresistible taste of creamy coffee ice cream. You won’t regret it!
Coffee Ice Cream (Soft Serve) Recipe
Ingredients
- 4 cups nonfat milk
- 1/2 cup fat-free half-and-half
- 2 teaspoons heavy whipping cream (optional)
- 5 teaspoons of knox unflavored gelatin (about 1-1/2 packets)
- 1 cup white sugar
- 1 large banana (frozen)
- 1 teaspoon vanilla
- 1 1/2 teaspoons cocoa powder
- instant coffee granules
- cinnamon
Instructions
- Freeze a banana in the freezer overnight.
- Put the milk, half & half, and whipping cream in a medium sauce pan, and sprinkle with the gelatin, let stand one minute.
- Heat it and stir until smooth, then stir in the sugar.
- Let cool in fridge for a little while, its better to put it in the freezer for a half hour first-until its like thin pudding.
- Take out and add vanilla, cocoa powder, then sprinkle with cinnamon and instant coffee, until it's as strong as you want.
- Food process the frozen banana, then add in the rest of the mixture until smooth. (If no food processor, cut up and put in blender).
- Pour mixture in ice cream machine, for 20-25 minutes, or until its thick enough.
- Eat it!